Download printable assembly instructions
| diybenchinstructions.pdf |
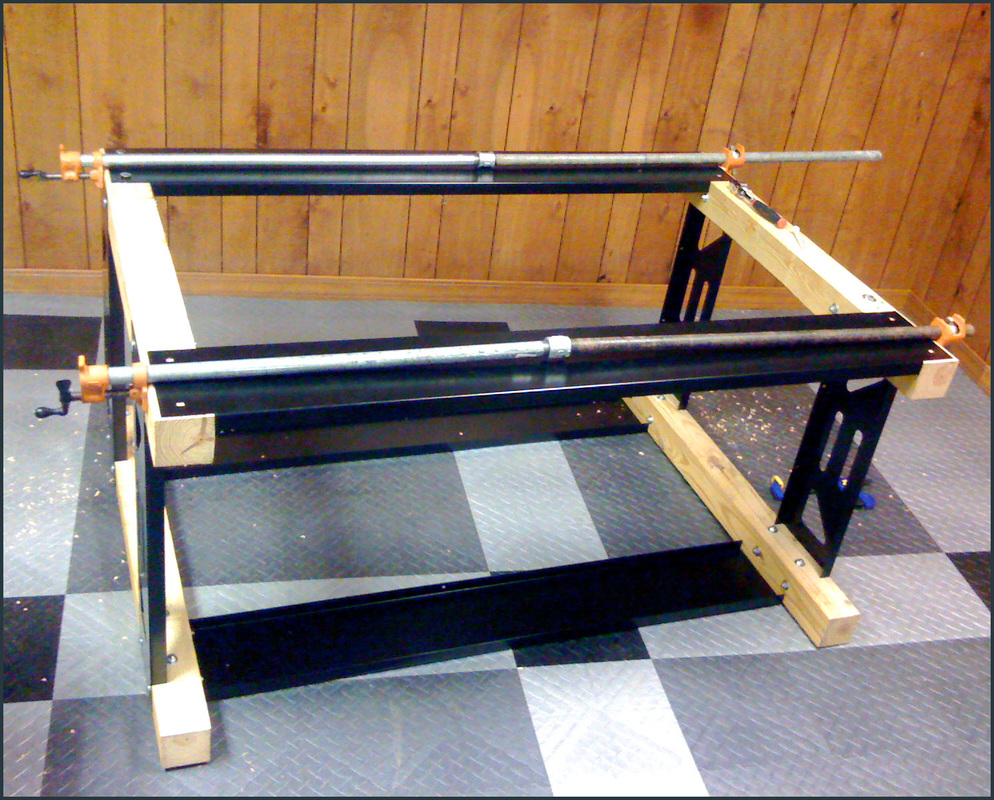
BASE ASSEMBLY
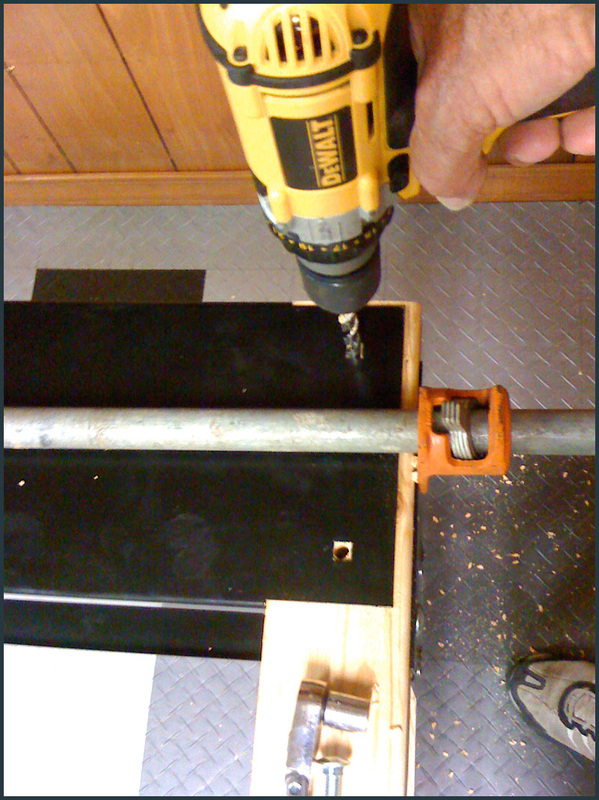
The brackets are self-aligning. They have tabs that hold the legs perpendicular to the bracket. This makes assembling the base easy. I just clamped the legs to the brackets and drilled the legs. The top brackets should be flush with the tops of the legs. I mounted the lower brackets 6” up from the floor. With the clamps still in place I installed the bolts, nuts, and washers and drew them snug.

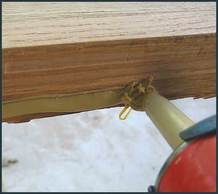
TOP TO BASE ASSEMBLY
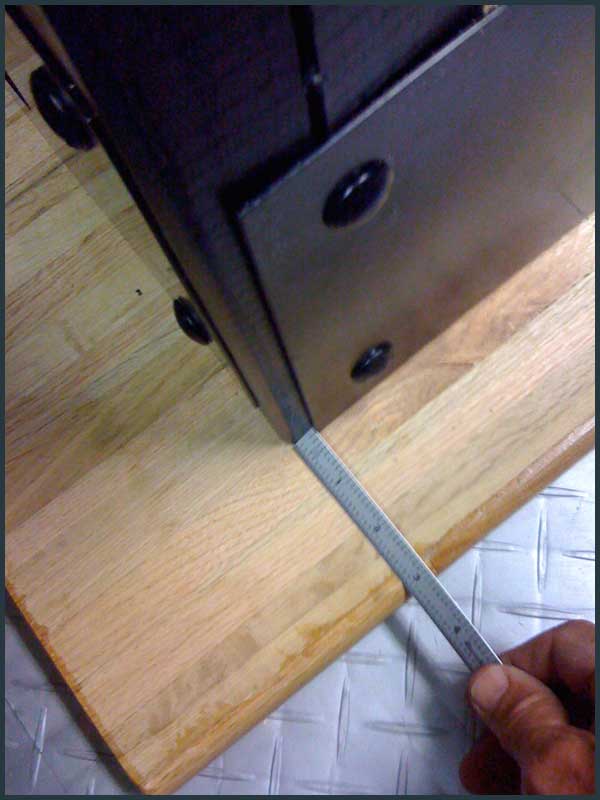
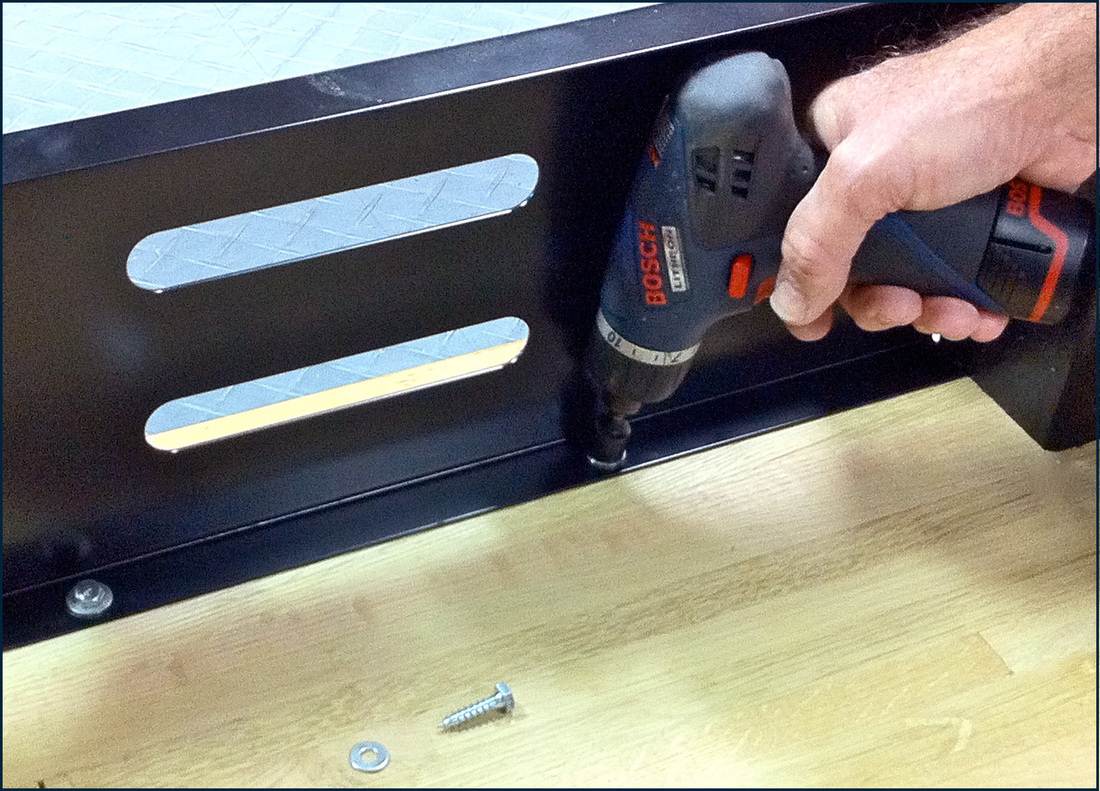
The easiest way to install the top to the base is upside down. I placed the top on the floor and then aligned the base with the top. Using ¼” hex lag bolts 1” long I then bolted the brackets to the top using the bracket holes provided. The base is not rigid until bolted to the top. It may not be perfectly square either. For this reason I found it necessary to bolt one side bracket (long bracket) in place first, then the other side bracket. Bolt the end brackets last.
TOP ASSEMBLY |
|
1. Remove Bead
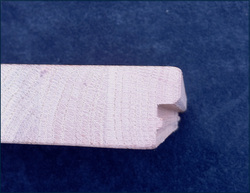
Each plank of dry van decking has a ship lap joint on each side.
This joint contains
a bead to hold the planks apart.
The bead must be removed to close the joint. This is easily done with a router and ½ Rabbet bit or a chisel. With the bead gone you are ready to start gluing planks together.
This joint contains
a bead to hold the planks apart.
The bead must be removed to close the joint. This is easily done with a router and ½ Rabbet bit or a chisel. With the bead gone you are ready to start gluing planks together.
2. Gluing
Glue only one joint at a time. I found it most effective to lay a bead of glue on the two vertical mating surfaces only. Too much glue can cause problems.
I have used three different glues, F-13, Tightbond III, and 2 part epoxy. All three were effective. Tightbond III was the cheapest and least messy.
I have used three different glues, F-13, Tightbond III, and 2 part epoxy. All three were effective. Tightbond III was the cheapest and least messy.
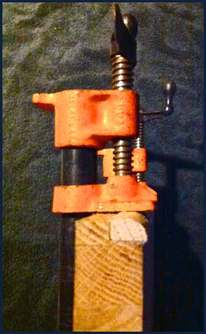
3. Clamping
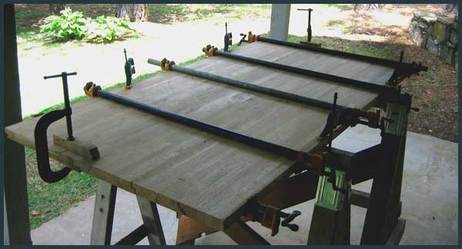
For this 70” x 36" top I used 6 pipe clamps.
4. More clamping
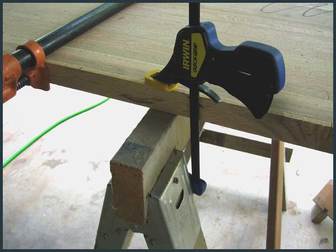
To ensure that adjoining planks remained flat while glued and clamped, I also clamped the planks to the saw horses that supported them.
If they bowed up in the middle I used a weight to hold them flat. A five gallon bucket of water worked well.
If they bowed up in the middle I used a weight to hold them flat. A five gallon bucket of water worked well.
5. Even More clamping
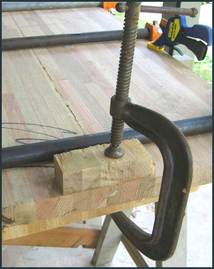
I also found it necessary to clamp across the joint at each end to close the joint fully and keep the surfaces flush.
6. Glue Removal
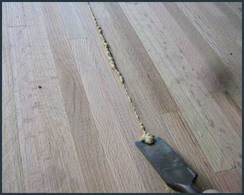
It is a lot easier to remove excess glue before it dries.
7. Final Trim
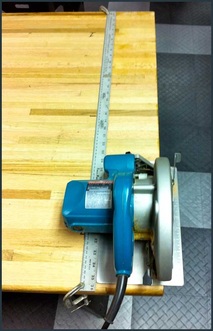
After allowing 24 hours for the glue to dry,
I removed the clamps and trimmed the ends
using a rotary saw with a steel yardstick
clamped in place as a fence.
I removed the clamps and trimmed the ends
using a rotary saw with a steel yardstick
clamped in place as a fence.
8. Quarter Round
Two edges of this top will be left with a step. This step can be filled with oak quarter round glued in place. I used a quarter round that measured ¾ x 7/16. This provided a little extra material for cleanup.
Another option is to simply rip off the step with a rotary saw and radius both edges with a router.
Another option is to simply rip off the step with a rotary saw and radius both edges with a router.